How to Upload and Use a Signature Image in PDFs
Your handwritten signature is the one you have used your whole life — on passports, bank forms, and every lease you ever signed. The good news: you can upload a signature image and use that exact signature in your PDFs, instead of settling for a shaky mouse drawing or a generic font.
The difference between a signature image that looks professionally scanned and one that looks like a photo of a napkin comes down to a few minutes of preparation. This guide covers the whole pipeline: capturing a clean signature on paper, prepping the photo, choosing between PNG and JPG, uploading it into the signer, sizing and placing it correctly, and saving it for reuse.
You can follow along with Docsigns — it accepts PNG and JPG signature uploads, is completely free with no signup or watermark, and signs PDFs entirely in your browser, so neither your document nor your signature image is uploaded to a server.
Why upload a signature image instead of drawing or typing?
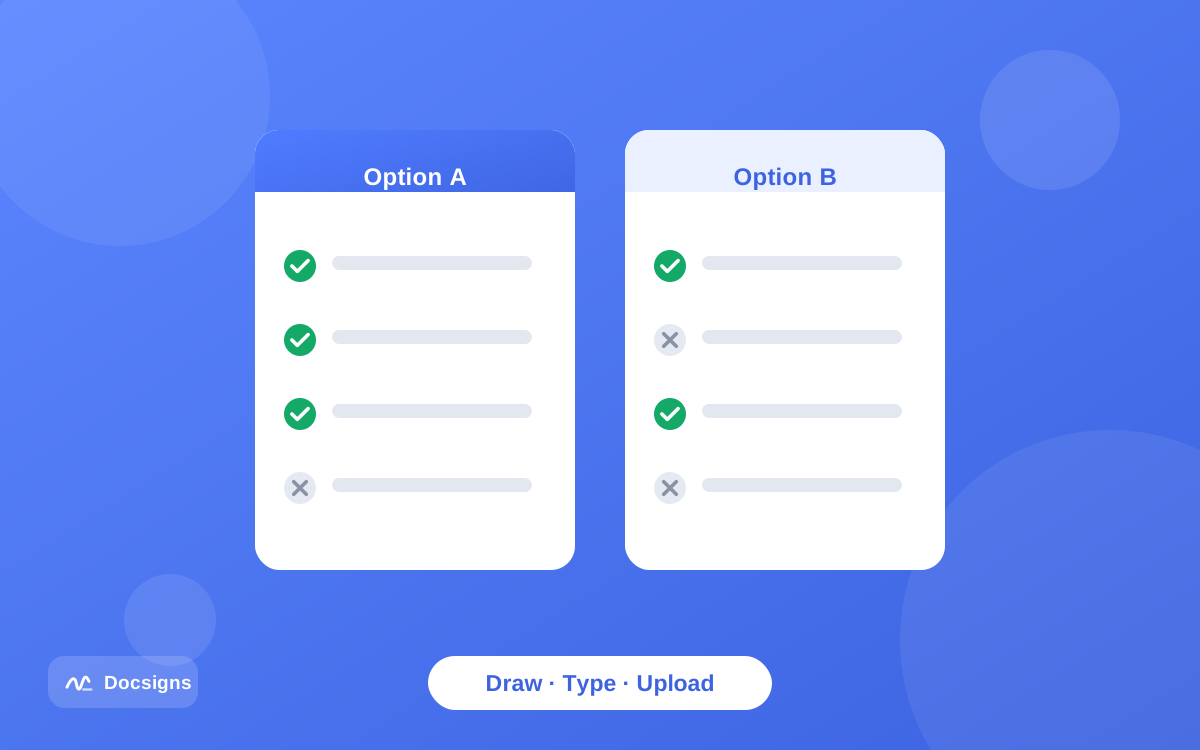
Docsigns gives you three ways to create a signature: draw it with a mouse or finger, type your name in one of six handwriting fonts, or upload an image. Each has its place.
The image route wins when consistency with your real-world signature matters. Banks, landlords, and government-adjacent forms sometimes compare your signature against one they have on file. An uploaded image of your actual pen-on-paper signature matches perfectly every time, while a mouse drawing rarely does. It is also the only way to keep decades of muscle memory — flourishes, underlines, and all — in your digital documents.
The trade-off is preparation time. Drawing and typing take seconds; a good image takes a few minutes to capture and clean up the first time. The trick is to do that once, save it to your signature library, and never do it again.
Capture a clean signature on paper
Everything downstream depends on the capture. Ten minutes here beats an hour of editing later.
- Use a black gel or fine felt-tip pen. Black gives the strongest contrast for cleanup. Ballpoints skip and leave gaps; pencils are too light.
- Sign on bright white, unlined paper. Printer paper is ideal. Lined, colored, or textured paper adds noise you will have to remove later.
- Sign large — roughly twice your normal size. A bigger original captures more detail and stays crisp when scaled down. Small originals turn blocky when enlarged.
- Sign five to ten times across the sheet and pick the best one. Nobody nails it on the first attempt.
- Capture in strong, even light. Daylight near a window works well. Overhead lamps cast the shadow of your phone straight onto the paper — approach from an angle or use indirect light.
- Hold the camera flat and square above the paper. A tilted camera skews the signature; most phone cameras show a grid or level indicator to help.
Scan or photograph?
A flatbed scanner gives the best raw material: even lighting, no perspective distortion, high resolution. Scan at 300 DPI or higher in color or grayscale. No scanner? A phone camera is genuinely fine — modern phones out-resolve what you need. Scanning apps with a document mode (which auto-crop and boost contrast) split the difference nicely, and the multifunction printer at your office almost certainly scans to email too.
Whichever route you take, inspect the result at full zoom before moving on. The ink lines should look solid and dark, the paper should read as white rather than gray, and there should be no shadow bands or blur. If any of those are off, recapture now — no amount of editing fully rescues a bad original.
Prep the image: background, crop, and format
Before you upload a signature image, three quick edits make it look professional instead of pasted-on:
- Whiten the background. Bump brightness and contrast until the paper reads as pure white and the ink stays dark. Most phone photo editors can do this; if yours has a document or black-and-white filter, even better.
- Crop tight. Trim to just the signature with a small margin. Extra paper around it becomes an awkward white block floating over your PDF text.
- Remove the background entirely if you can. A transparent PNG is the gold standard — the signature ink sits directly on the document, and lines or text underneath show through naturally. Many free background-remover tools handle signatures well.
PNG vs JPG: the best format to upload a signature image
| Aspect | PNG | JPG |
|---|---|---|
| Transparency | Supported — ink can float directly on the document | Not supported — always a rectangular background |
| Edge quality | Lossless; line edges stay crisp | Compression can blur or add artifacts around thin lines |
| File size | Slightly larger | Smaller, but size rarely matters for signatures |
| Best for | The signature you will reuse everywhere | Quick one-off captures straight from a phone camera |
Short version: if you are making one signature image to keep, make it a PNG with a transparent (or clean white) background. A JPG straight off your phone still works — Docsigns accepts both — it just shows a white rectangle if the document behind it is not white.
Already stuck with a JPG? Converting it is trivial: open it in any image editor (even the built-in Preview on a Mac or Photos on Windows), remove or whiten the background, and export as PNG. The conversion itself does not improve quality, but it lets you add the transparency that makes the signature sit naturally on any document.
How to upload a signature image in Docsigns

With the image ready, the signing part takes about a minute:
- Open Docsigns in any modern browser — Chrome, Safari, Firefox, or Edge, desktop or mobile.
- Upload your document. PDFs are rendered and signed entirely in your browser; DOC and DOCX files are converted to PDF by a secure converter first.
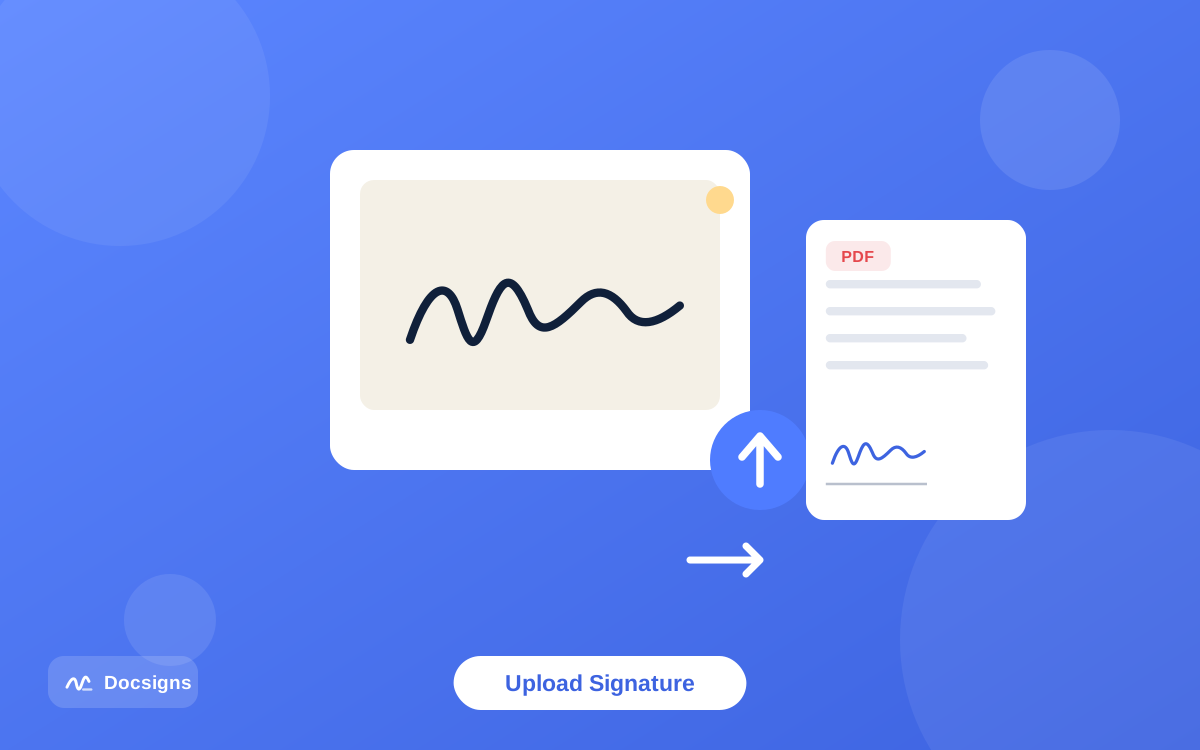
- Choose the signature tool and pick the upload option, then select your PNG or JPG signature image.
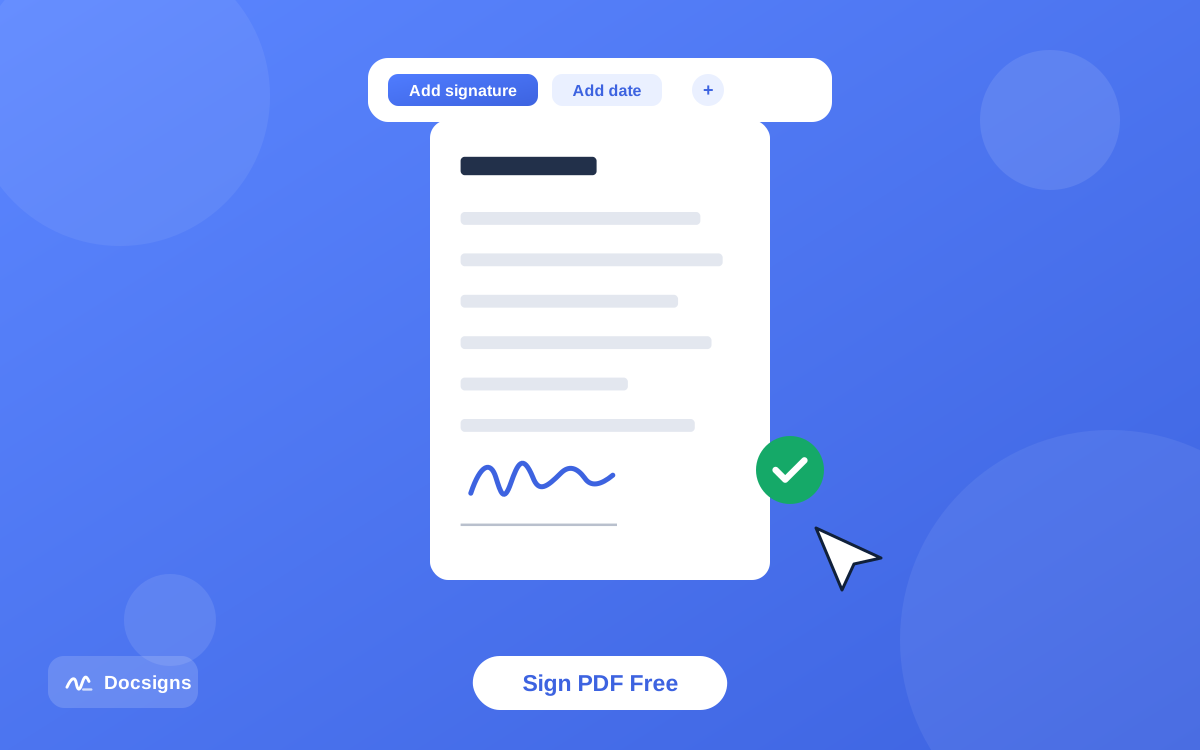
- Drag the signature onto the page where it belongs — the signature line, an approval box, or anywhere else. Multi-page documents are supported, and the zoom control helps with precise placement.
- Resize it by its corners and rotate it if the document calls for it (some forms have angled or narrow signature boxes).
- Add a date next to the signature if the document needs one — formats like June 11, 2026 or 2026-06-11 are available.
- Download the signed file. It keeps the original file name, and the output is a flattened PDF, so your signature image cannot be casually lifted out of it as an object.
Sizing and placement that look right
Scale the signature so it is roughly the height of two to three lines of the surrounding text, and let it rest on the signature line rather than hover above it. Slight overlap with the line looks natural — that is how pen signatures behave. Docsigns keeps every item at the exact position you place it, so the downloaded PDF matches the editor precisely. For documents that need a date in a specific spot too, our guide on adding a date and signature to PDF documents covers the conventions.
When drawing or typing beats an image
An uploaded image is not always the right tool. Be honest about the context:
- On a phone with no prepared image, drawing with your finger is faster than photographing and cleaning a signature on the spot — see our tips for signing documents on mobile devices.
- For initials on many pages, a small typed or drawn mark is quicker to create and reads more cleanly at tiny sizes than a downscaled photo.
- For internal approvals and low-stakes sign-offs, a typed signature in a handwriting font (Docsigns offers Classic, Casual, Fine, Elegant, Relaxed, and Marker) is instant and perfectly valid.
- If your only capture is poor — gray paper, shadows, broken lines — a clean drawn signature beats a messy image every time.
Legally, all three methods produce a simple electronic signature. Frameworks like the US ESIGN Act and the EU eIDAS regulation are technology-neutral: they care about your intent to sign, not the pixels. Our guide on whether electronic signatures are legally binding covers that in depth, and how to create a digital signature for documents compares the creation methods side by side.
Save it once, reuse it everywhere
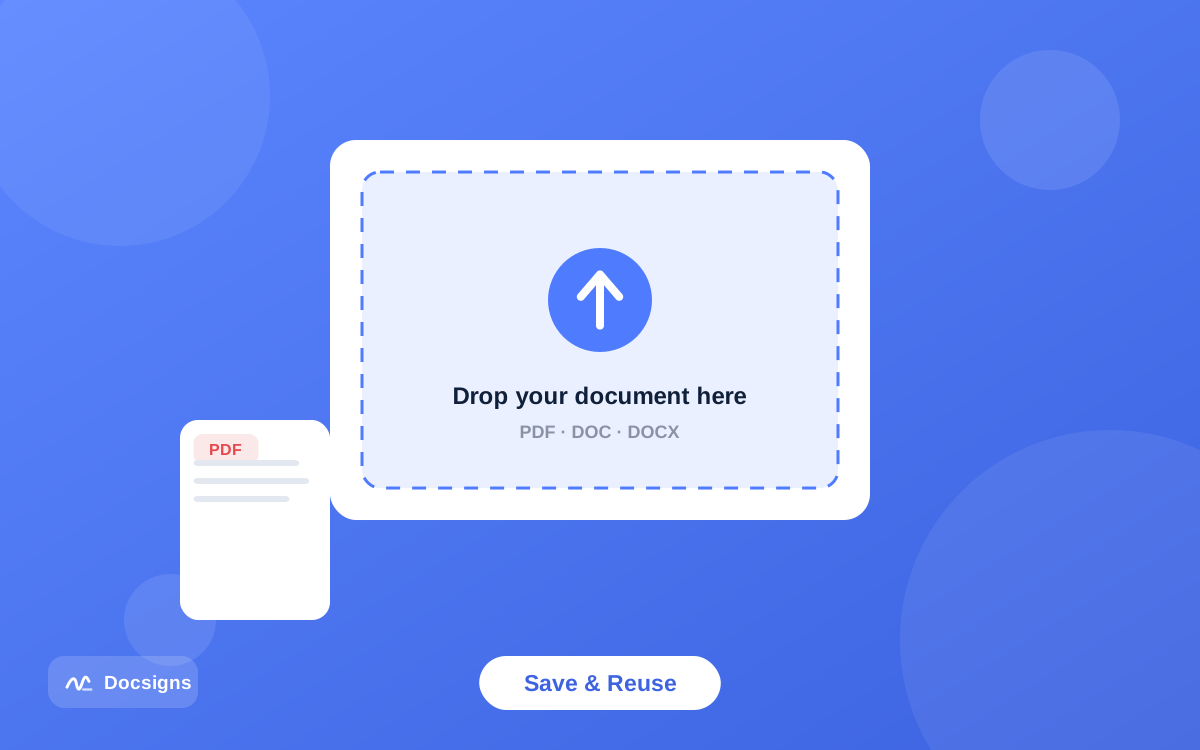
The payoff for doing the capture properly: Docsigns has a reusable signature library. Save your uploaded signature once, and every future document is a matter of picking it from the library and placing it. No re-uploading, no hunting through your camera roll for the good version.
It is worth keeping the master PNG file itself somewhere sensible too — a folder with your other business assets — since it is useful beyond PDFs: email signatures, letterheads, and invoice templates can all use the same file. And because the image represents your real signature, treat it with mild care: keep it off shared drives and public folders. More on that thinking in our guide to signing documents online securely.
Common mistakes when you upload a signature image
- Uploading a photo with the whole page in frame. Crop to the signature first; otherwise you will shrink an entire sheet of paper onto a signature line.
- A gray or yellowish background. Uncorrected phone photos rarely have white whites. One brightness/contrast pass fixes it.
- JPG with a visible white box on a colored form. Use a transparent PNG for documents with shading, tables, or background tints.
- Signing too small on paper. A tiny original enlarges into fuzzy, stair-stepped lines. Sign big, scale down.
- Stretching the image unevenly. Resize from the corners to keep proportions — a horizontally stretched signature is immediately noticeable.
- Redoing the work every time. Save the signature to the library after the first use.
Put your real signature on the next PDF
The recipe is short: sign big in black ink on white paper, capture it flat in good light, whiten and crop, export a PNG, then upload a signature image into Docsigns and place it where it belongs. Do it once, save it to the library, and every document after that takes seconds.
Docsigns is free, needs no account, adds no watermark, and signs PDFs without them ever leaving your browser. Sign your document now with your real signature — and if you are starting from zero, our walkthrough on how to sign a PDF online for free covers the basics end to end.
Frequently asked questions
What image formats can I use for a signature?
Docsigns accepts PNG and JPG signature images. PNG is the better choice for a signature you will reuse, because it supports transparent backgrounds and keeps thin line edges crisp; a JPG from your phone camera also works fine on white documents.
How do I make my signature image background transparent?
Use a background-remover tool or an image editor to delete the white paper around the ink, then export as PNG. With a transparent background the signature ink sits directly on the PDF, and lines or text underneath remain visible.
Is an uploaded signature image legally valid?
In most jurisdictions, yes. An image of your handwritten signature applied with intent to sign is a simple electronic signature, recognized by laws like the US ESIGN Act and the EU eIDAS regulation for most documents. This is general information, not legal advice.
What resolution should a signature image be?
Scan at 300 DPI or photograph with any modern phone camera, and sign about twice your normal size on paper. High-resolution originals stay sharp when scaled down; low-resolution ones turn blocky when enlarged.
Is my signature image uploaded to a server?
Not when signing PDFs with Docsigns. The PDF is rendered and signed entirely in your browser and never uploaded or stored on a server, and the signed download keeps items exactly where you placed them.
Can I reuse the same signature image on future documents?
Yes. Save it to the Docsigns signature library once and select it from there for every future document — no repeated uploads. Keep the master PNG file backed up with your other business assets too.
Can someone copy my signature image out of the signed PDF?
The signed output from Docsigns is a flattened PDF whose pages are images, so the signature is not an extractable object and casual editing is impractical. As with any signed paper document, only share the file with parties who should have it.